

Customising the OpenGrid Display Case
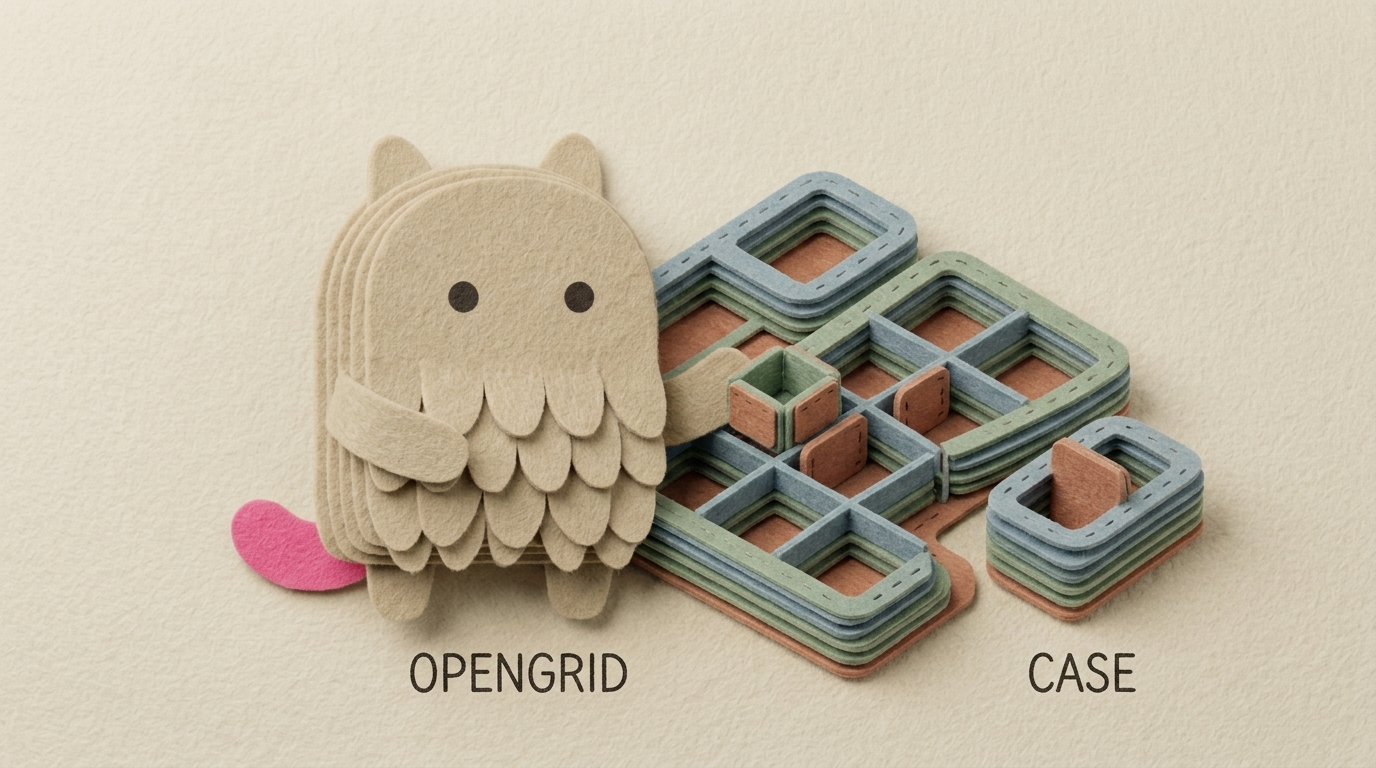
The OpenGrid Display Case is a fully parametric, open-source 3D printable frame with modular OpenGrid mounts. Whether you need a compact case for a single figurine or a large multi-grid enclosure for a diorama, the web-based customisers make it incredibly easy to generate the exact 3D models you need without touching any CAD software.
In this guide, I'll walk you through how to use the three available web customisers for the OpenGrid Display Case project: the Shell, the Cover, and the Connector.
1. Generating the Display Case Shell
The Shell is the main body of the display case, featuring the signature corner connector cutoffs and internal OpenGrid mounting points.

How to Customise the Shell
- Access the Customiser: Head over to the OpenGrid Display Case Shell Customiser.
- Adjust Dimensions: In the right-hand panel, you can adjust the physical dimensions of the shell. You can specify the width, depth, and height according to the size of the object you intend to display.
- Configure the OpenGrid Mounts: The customiser allows you to select how many OpenGrid slots (X and Y) you want on the base. This is crucial for ensuring compatibility with other OpenGrid accessories.
- Export Your Model: Once you are happy with the preview in the 3D viewport, click the Download STL or Download STEP button. STL is great for immediate slicing, while STEP is perfect if you want to make further modifications in your own CAD software.
2. Creating the Acrylic Cover
The Cover generator creates the top piece that slots into the shell, keeping your displayed items dust-free.

How to Customise the Cover
- Access the Customiser: Open the OpenGrid Display Case Cover Customiser.
- Match the Shell Dimensions: It is vital that the dimensions (Width, Depth, Height) entered here exactly match the dimensions you used for your Shell. The customiser will automatically calculate the correct tolerances and lip sizes to ensure a perfect fit.
- Adjust Thickness (Optional): If you are using non-standard acrylic or want a thicker/thinner printed cover, you can adjust the wall thickness parameters.
- Export: Click Download STL or Download STEP to save the cover model to your computer.
3. Customising the Corner Connectors
The Connectors are used to join multiple display cases together, allowing you to build an expanding modular grid of displays.

How to Customise the Connectors
- Access the Customiser: Navigate to the OpenGrid Display Case Connector Customiser.
- Select Connector Type: Depending on how you want to stack or link your cases, you can generate different connector shapes (e.g., 2-way, 3-way, or 4-way intersections).
- Set Tolerances: Depending on your 3D printer's calibration, you may want to slightly adjust the tolerance value to ensure the connectors fit snugly into the shell cutoffs without being too tight.
- Toggle OpenGrid Mounts (Optional): You can completely turn off the OpenGrid connector feature in the settings. This allows the connectors to be used independently—simply to join your display cases together without anchoring them to an OpenGrid base.
- Export: Download the final STL or STEP file and print as many as you need for your modular setup.
The Finished Product
Here is what the printed cases look like when fully assembled and populated with models!


Getting Started with Printing
With your custom STL files ready, simply slice them in your preferred slicer (like PrusaSlicer or Bambu Studio) and start printing. For the best results, I recommend using PETG or ABS/ASA for the connectors to ensure they have enough flex and strength, while PLA is perfectly fine for the shell and cover.
For more details on the project, assembly instructions, and community makes, check out the official model pages on Printables and QidiMaker.
Happy printing!